The next step was to get the wings fitted to the fuselage. I was able to do this in my garage but had to do it one wing at a time. So in general what I did was take down one wing, do all the fitup for that wing then swapped it out for the other wing and did the same fitup on that wing. Because I can only do one wing at a time I was NOT able to do the aileron cables yet. I will do that later during the final assembly; will have to pull the plane outside to accomplish that on a nice day!
So the steps to mounting each wing were as follow.
- Line up wing mounts to fuselage couplers and determine lineup.
- Grind down the fuselage couplers to match the wing mount brackets (I oversized the couplers initially so I could get a precise fitup)
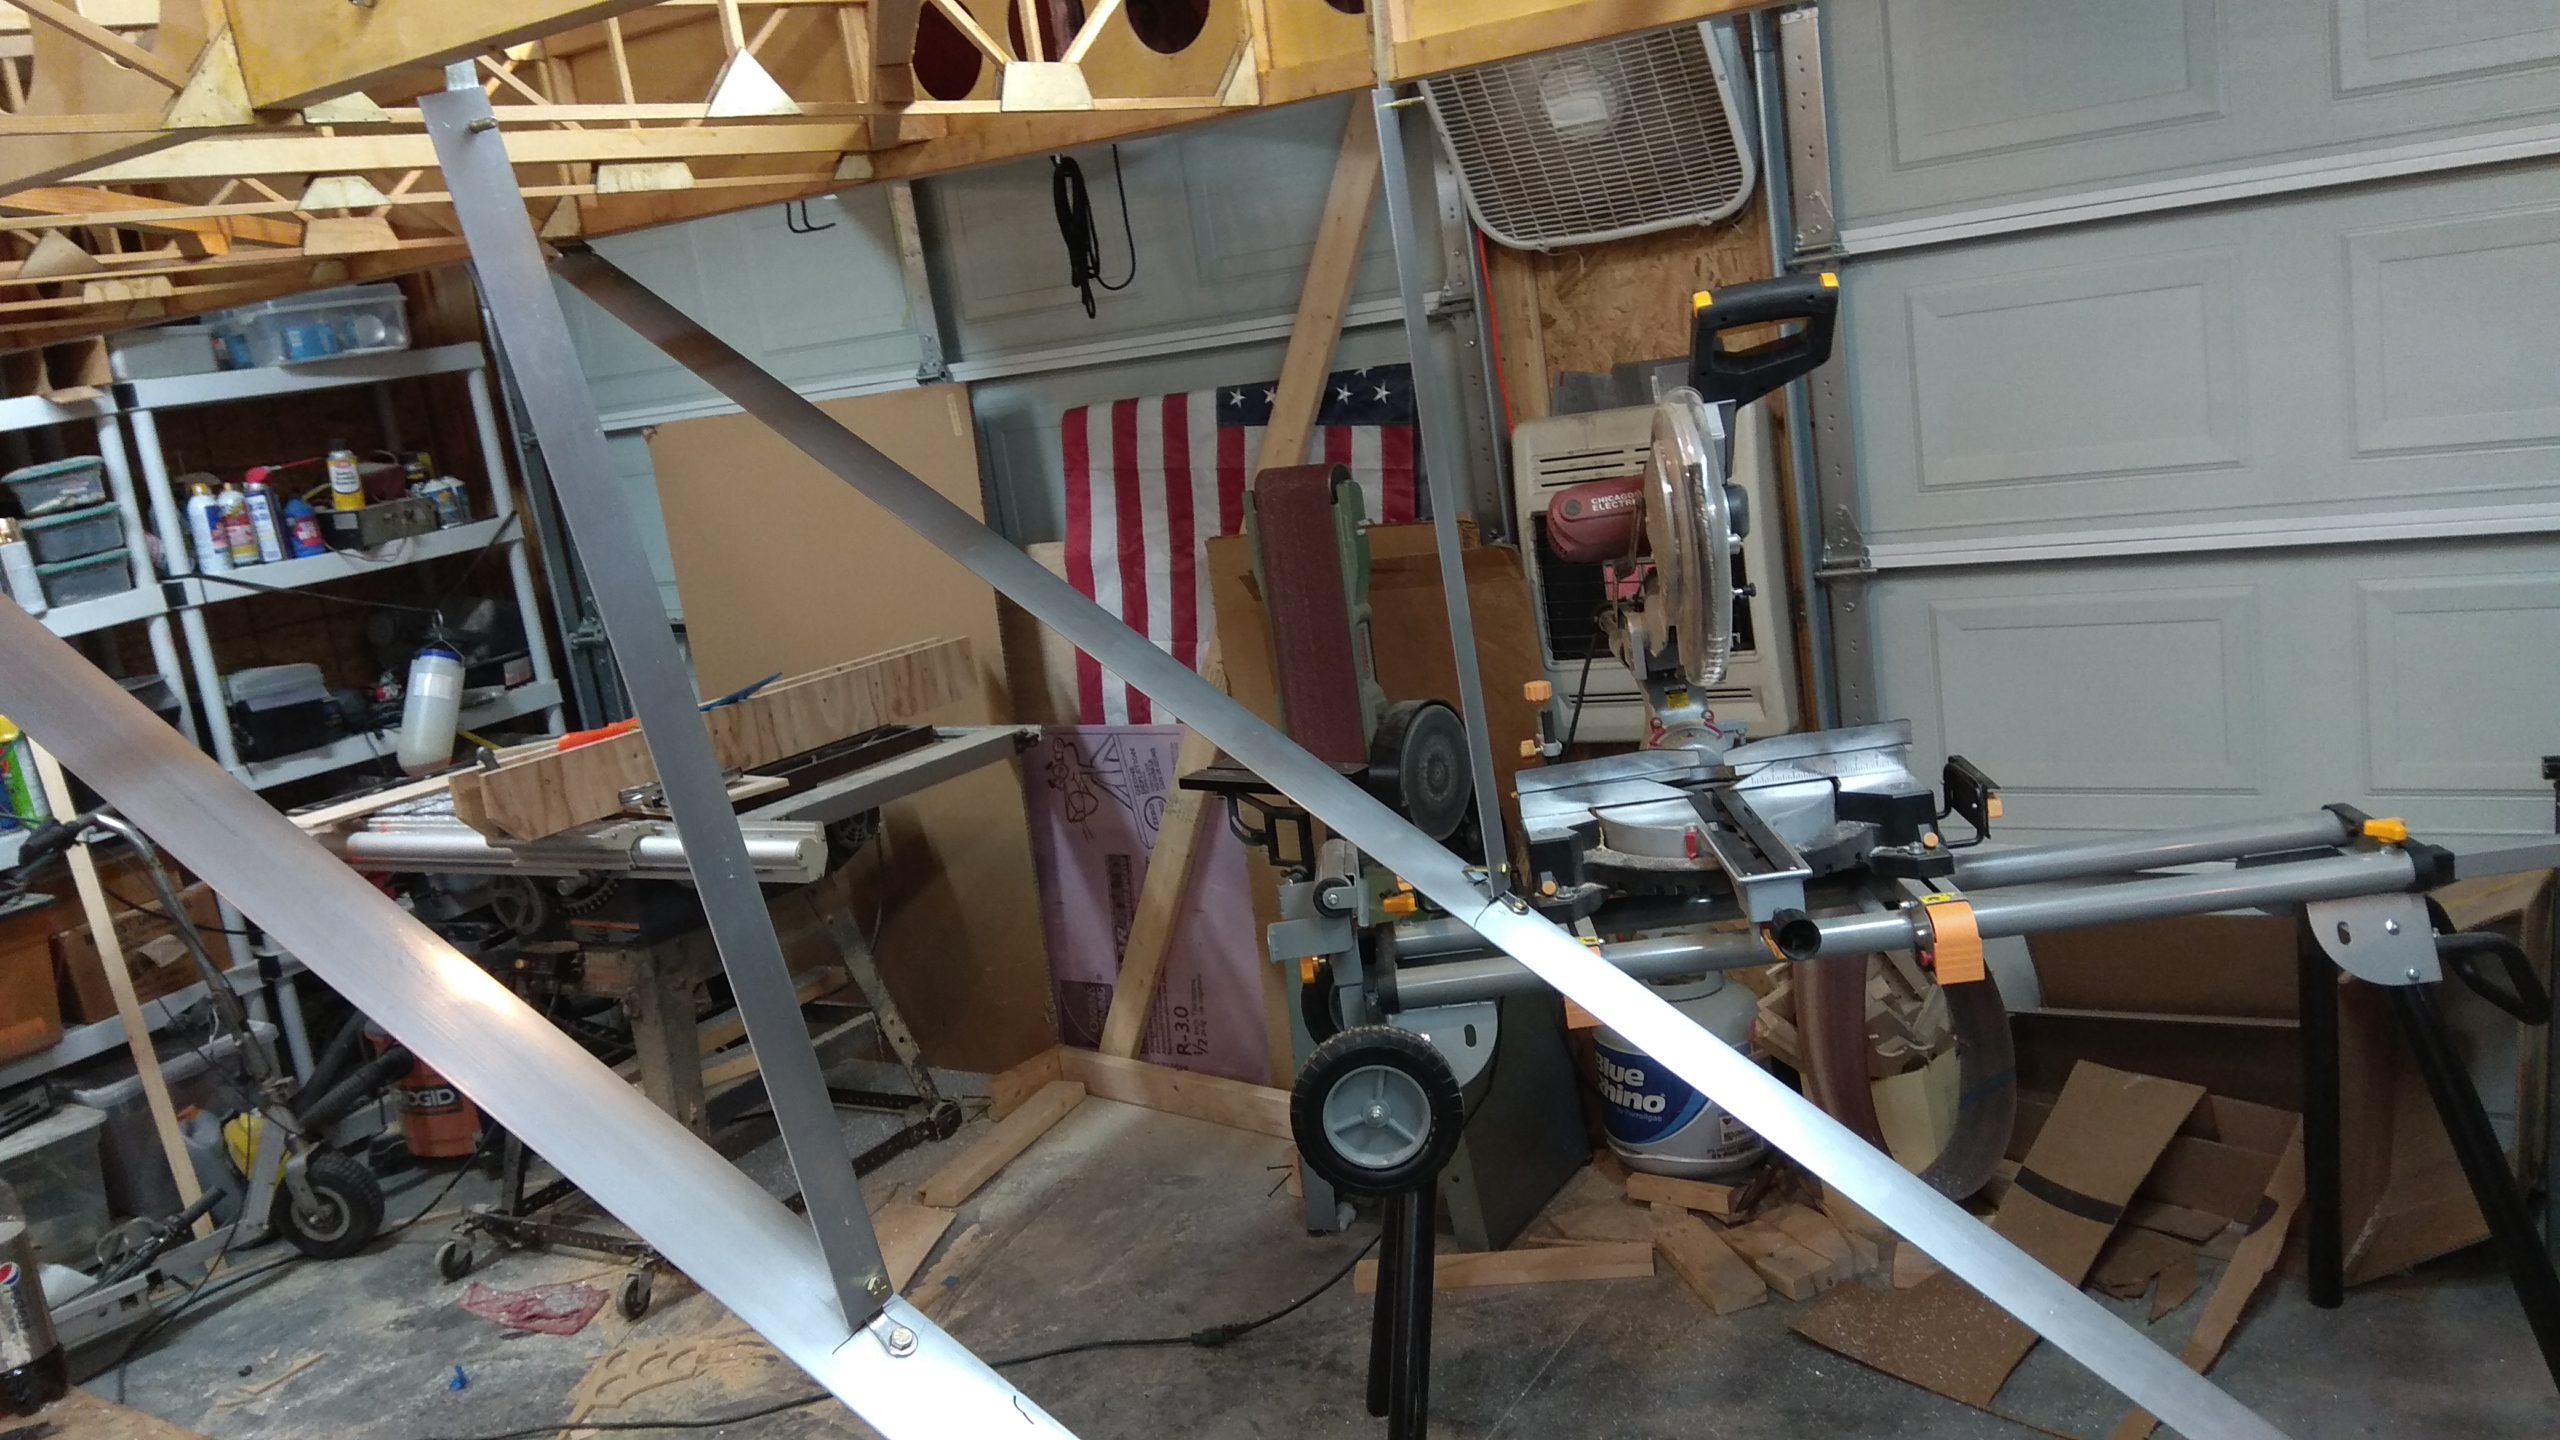
- ensure 3″ dihedral by leveling wing then using 3 inch offset at ends – measured with a ruler at level and then add the needed 3-inch offset.
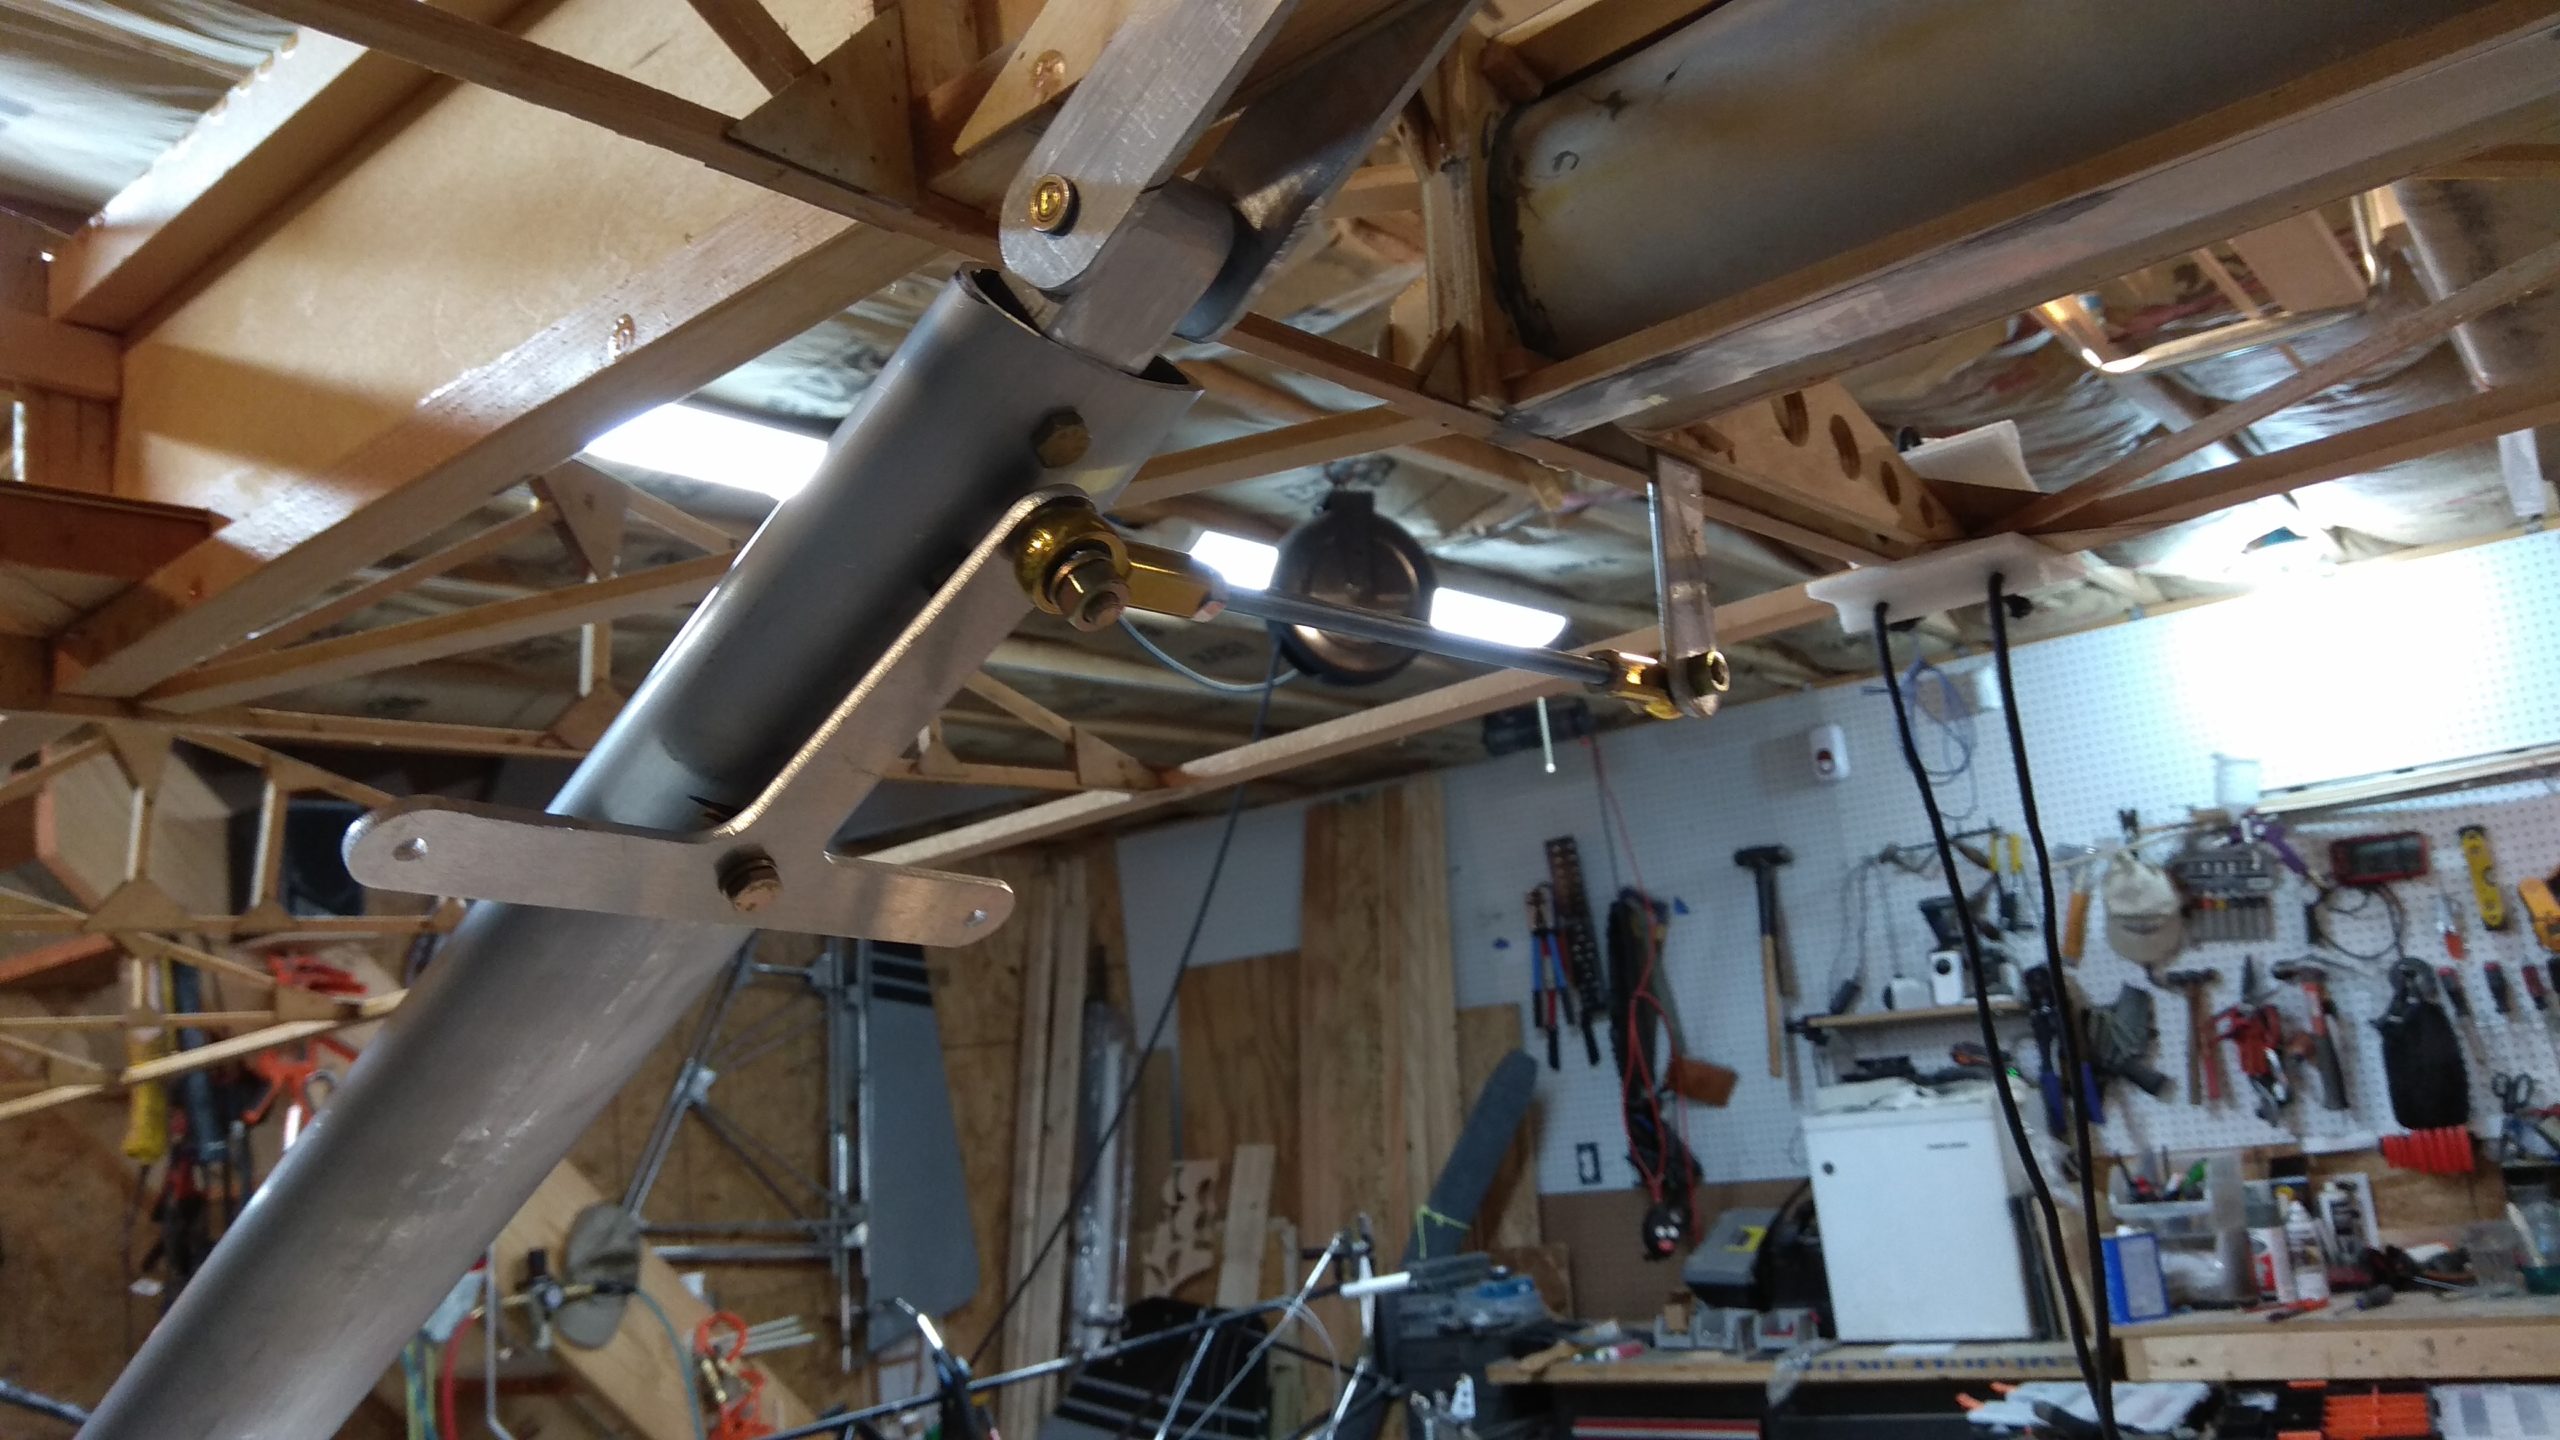
- Fit up Struts cutting them to size. I am using the aerodynamic structs along with aluminum blocks fitted at both ends for the mount points.
- Install all bolts needed to mount Struts in place using
- Install aileron pushrod and tee bracket for control cables
- install jerry struts from Struts up to wing per plans
And I did all that twice – once for each wing.